How to create an aggregate audio device
Here are the steps to configure the virtual audio cables on Mac OS:
Download free virtual cables
The first step is to download the Source Nexus virtual audio cables. These are virtual cables that can route audio from one app to the other.
- go to the Source Elements web site page
- select Source Nexus Free Trial
- select Login to download the trial
- select your platform (Mac) and press the download button
- run the installer and follow the instructions
At the end, your computer should have some additional audio cables called Nexus-A and Nexus-B
Create aggregate device
Once the virtual cables are available, the second step is to create an aggregate device that combines the default output device and the virtual cable. Here are the detailed steps:
- go in Applications > Utilities and there run the Audio MIDI Setup app
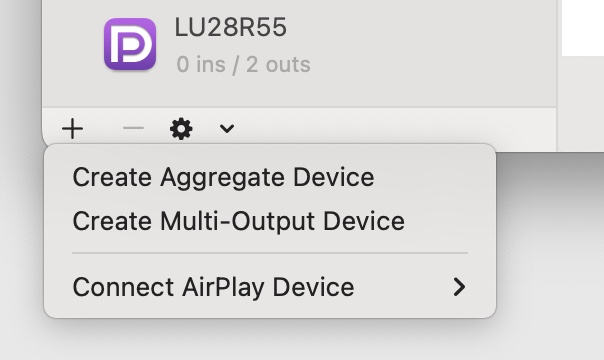
- on the left pane, at the bottom, press the + button and select the Create Aggregate Device option:
- now configure the new aggregate device as follows:
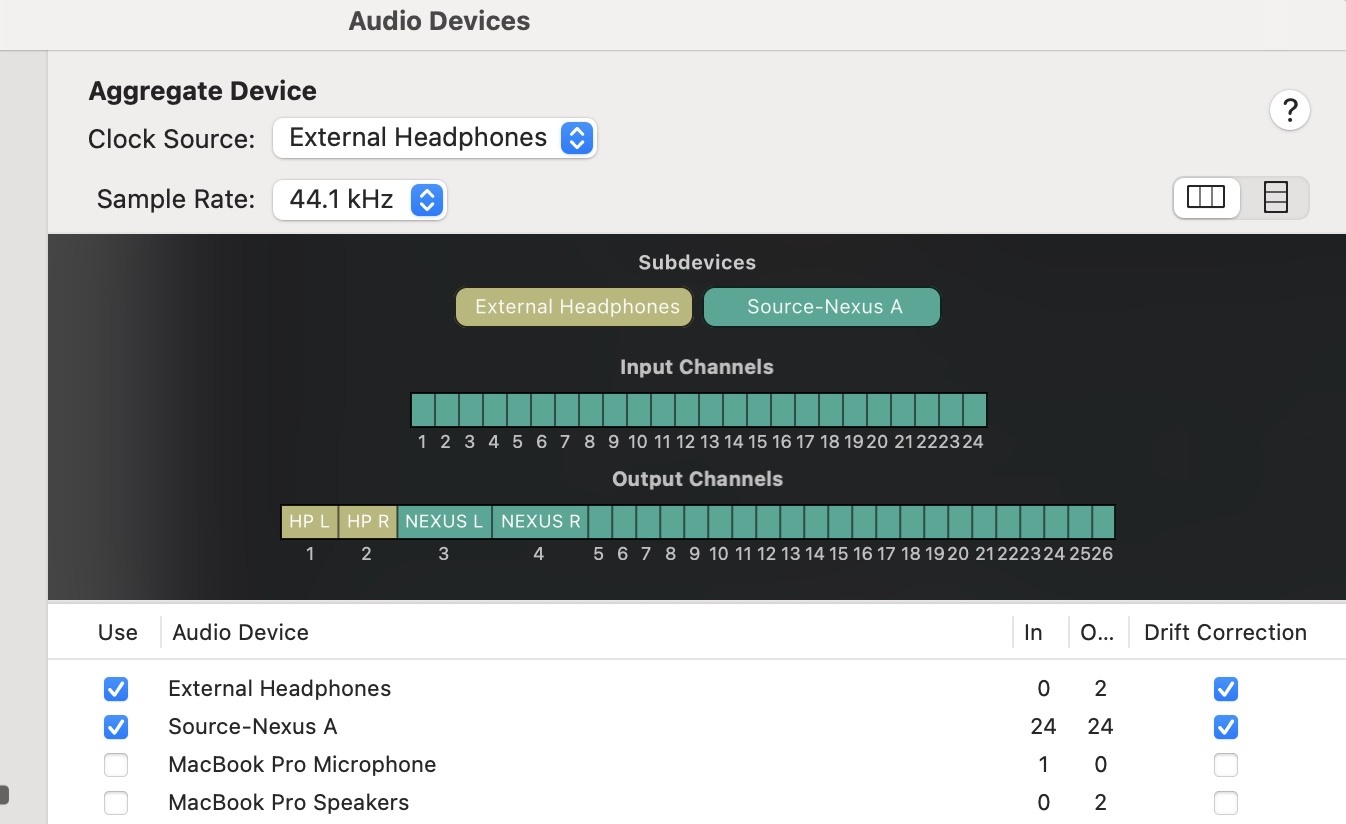
For that, select first the Externl Headphones, then the Source-Nexus A subdevices. This will place them in the right order. If not, you can drag the headphones one to your the left.
Automatically the Output Channels will contain the first 2 channels from the headphones, which you can rename as HP L and HP R, by clicking them. You can then rename the first and second channels of the Nexus part as NEXUS L and NEXUS R. This is just informative.
Also check the Drift Correction for both subdevices.
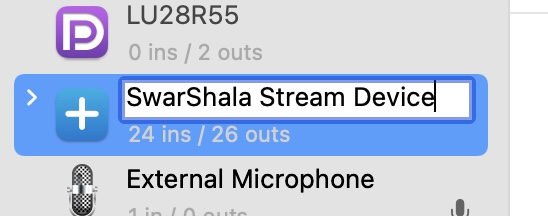
Your aggregate device is ready. You should just rename it to a better name by clicking on it on the left pane:
Close the Audio MIDI Setup app. That's it! The new device should be available from within SwarShala and any other audio program.
Select the new aggregate device in SwarShala
Now that this new device is available, all you have to do is to select it as the default output device for SwarShala. To do that:
- run SwarShala
- in Practice or Compose pane, go to Tools > Options
- select the new device in the Output dropdown. It should then look like this (Input is for your microphone; may differ):
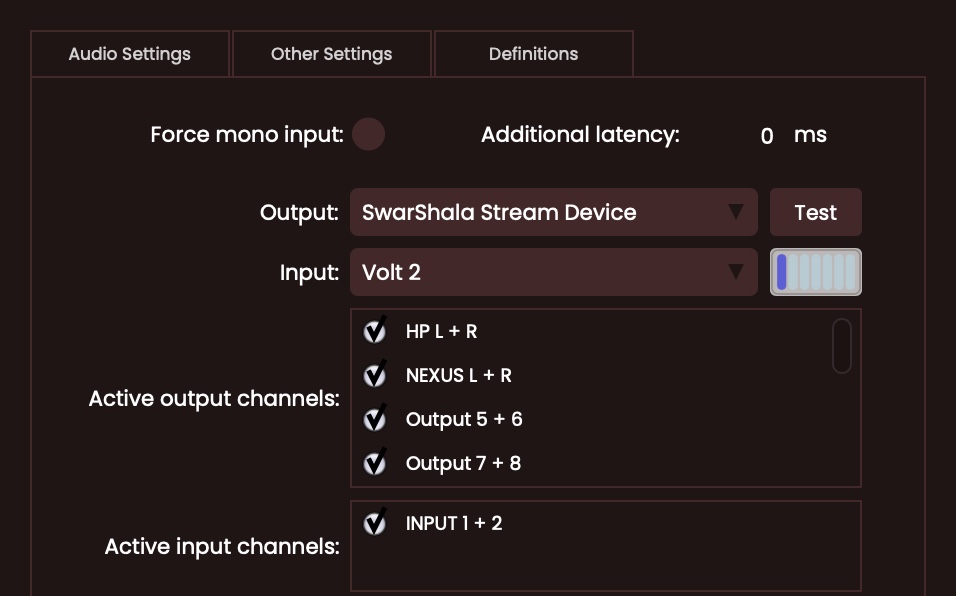
- close the Options pane. You should be good to go.